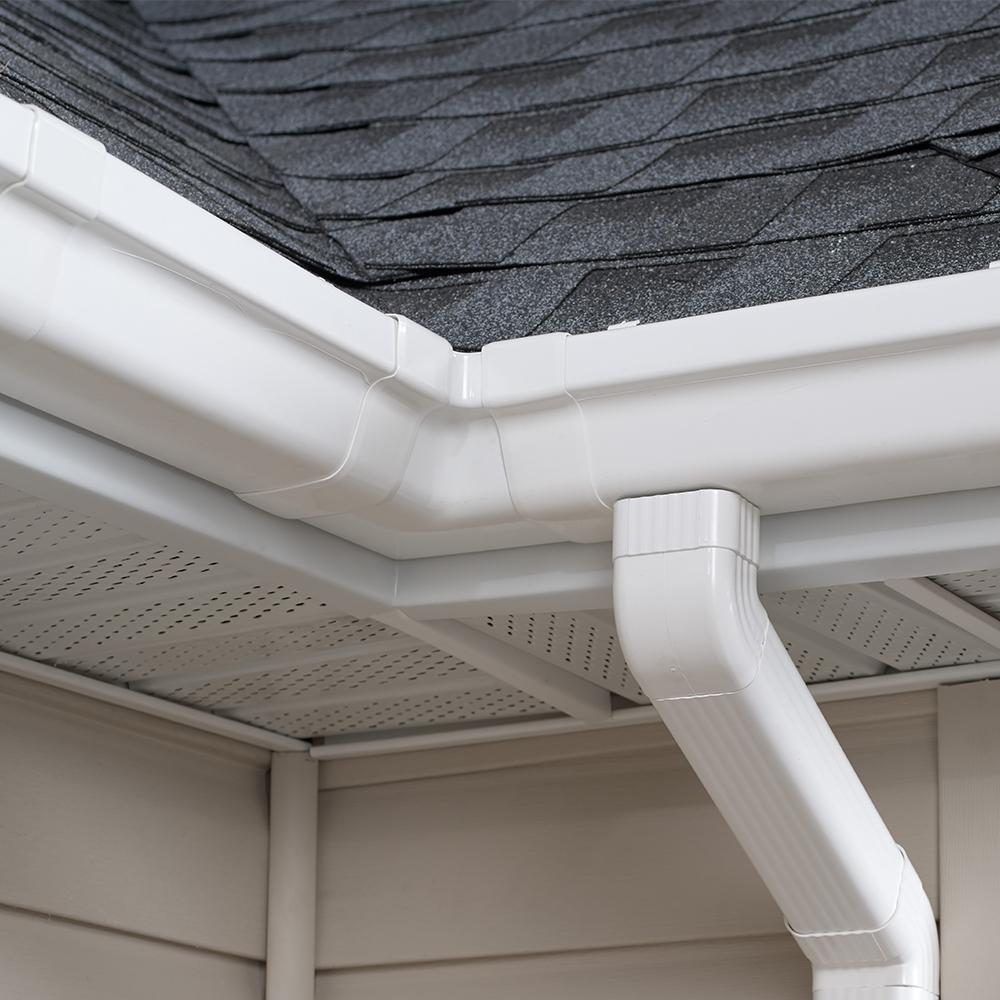
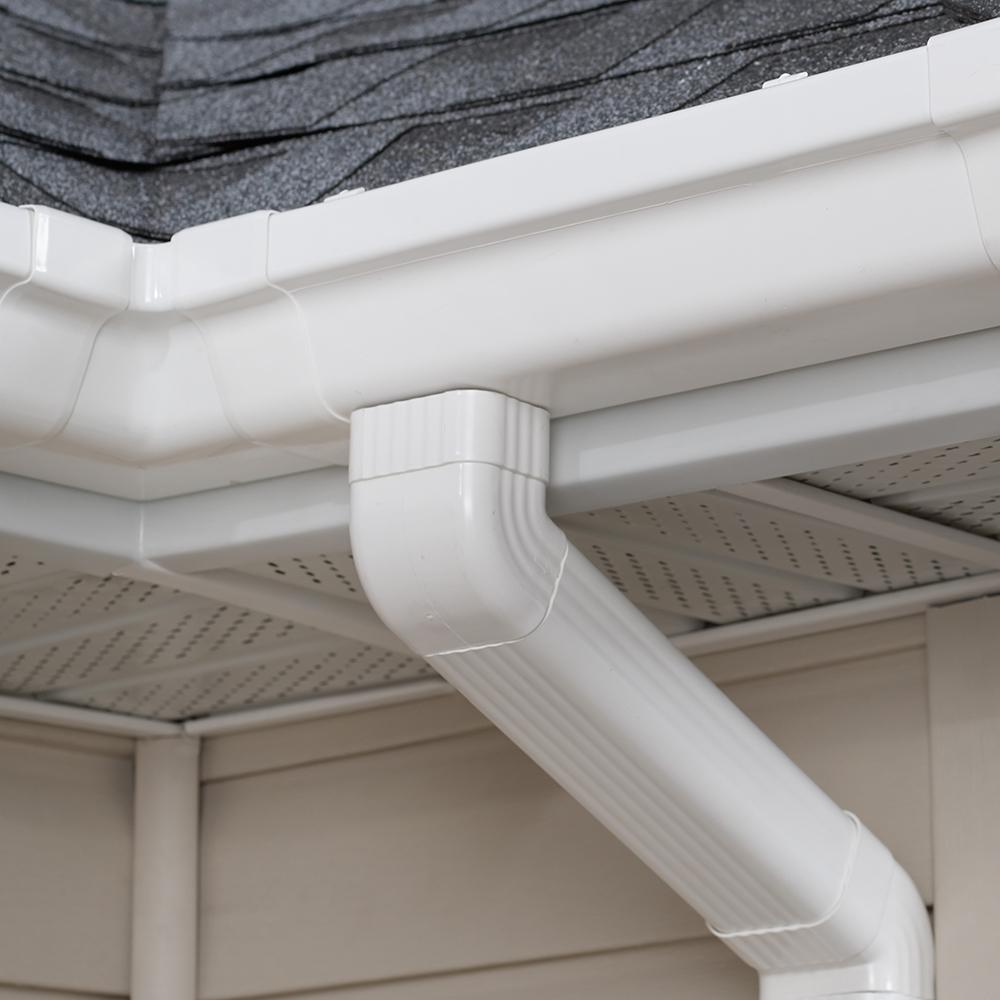
Attaching Inside Corner On Gutter
Amerimax Home Products White Vinyl K Style Inside Mitre M0504 The Home Depot

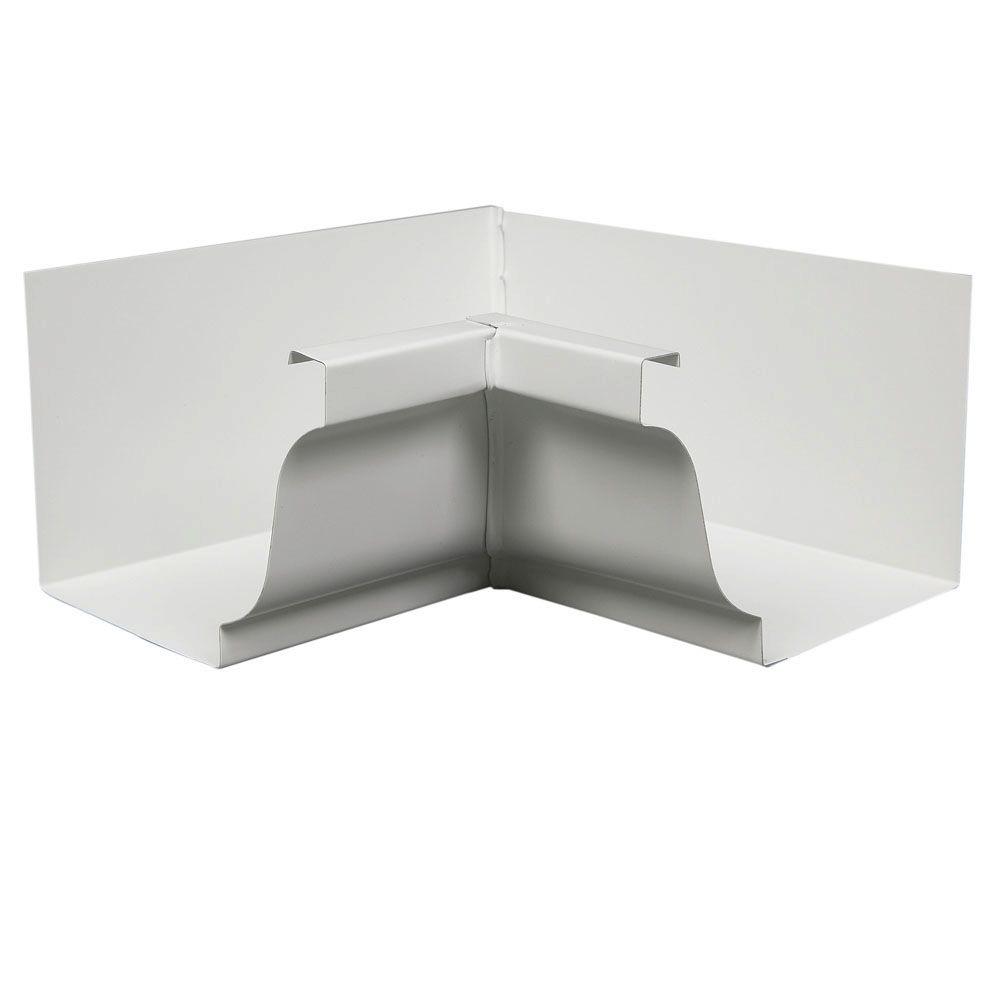
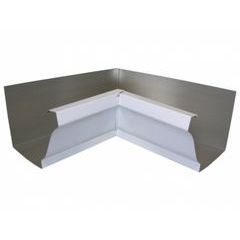
Inside Corner For 6 Seamless Gutters Seamless Gutters Gutters Rain Gutters
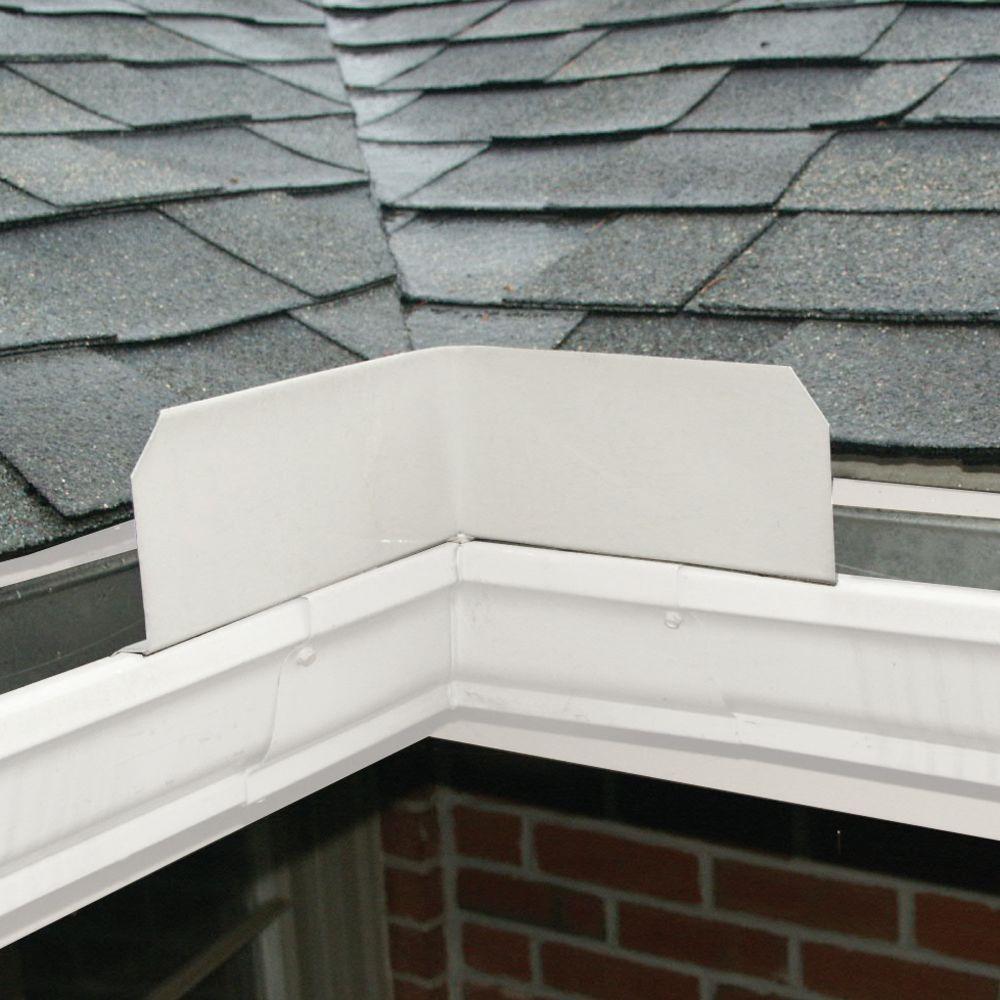
Amerimax Home Products 6 In White Aluminum Inside Gutter Mitre 47001 The Home Depot
Amerimax Home Products Aluminum Gusher Guards 3 Pack 25074 The Home Depot

How To Seam Gutters Together Do It Yourself Pj Fitzpatrick

How To Install Rain Gutters Hometips Diy Gutters House Gutters How To Install Gutters

Position the new corner and drill holes for the pop blind rivets.
Attaching inside corner on gutter.
Amerimax Home Products 5 In X 0 5 Ft White Vinyl K Style Outside Corner M0503 The Home Depot

Iv Gutters Ccc Project Manual

Gutter Installation Bellevue And Seattle Gutter Contractors Premier Home Repairs

Installing Gutters On A Garage

Gutter Repair Mainteance Most Common Questions Answered

Dripping From Gutter Near Inside Corners Doityourself Com Community Forums

Eavestroughing Gutters How To Make An Outside Corner True North Eavestroughing Youtube

Corner Leaderhead 3141 Without A Gutter Water Pours Off The Valley Where Two Roofs Join If You Don T Have Gutter Rain Chain Drainage Solutions Rain Barrel

Roof Valley Rain Water Diverter Inside Corner Conductor Head Diggerslist In 2020 Roof Problems Rain Diverter Gutter Drainage

Gutter Splash Guards Overflowing Gutters Gutter Rain Gutters

Sectional Gutter Installation For The Diy Er Extreme How To

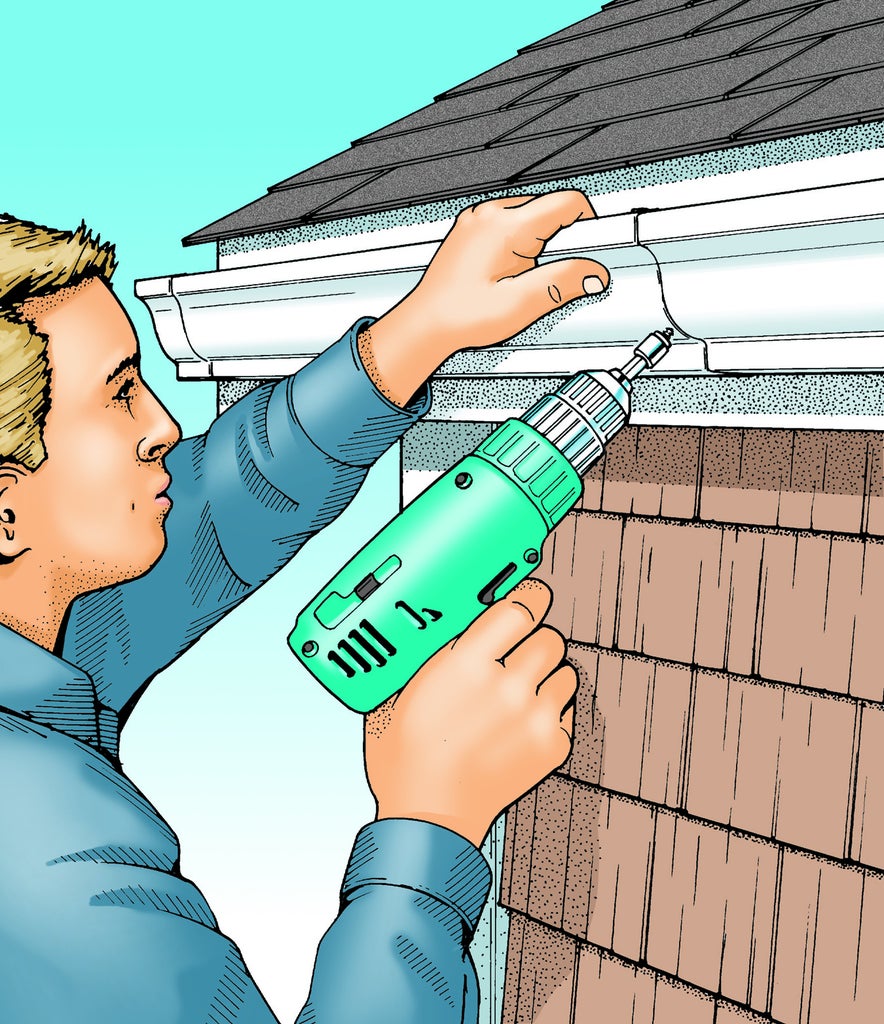
How To Install Gutters

How Should The Gutters Be Installed On A Huge Gable Dormer House Gutters Dormers Gutters
Amerimax Home Products 3 In X 4 In White Vinyl A Elbow M0727 The Home Depot

Gutter Installation Tips From The Pros Paramount Exteriors
Aluminum Miters Half Round K Style Gutter Supply

Copper Gutters Love These House Exterior Gutters Copper Gutters
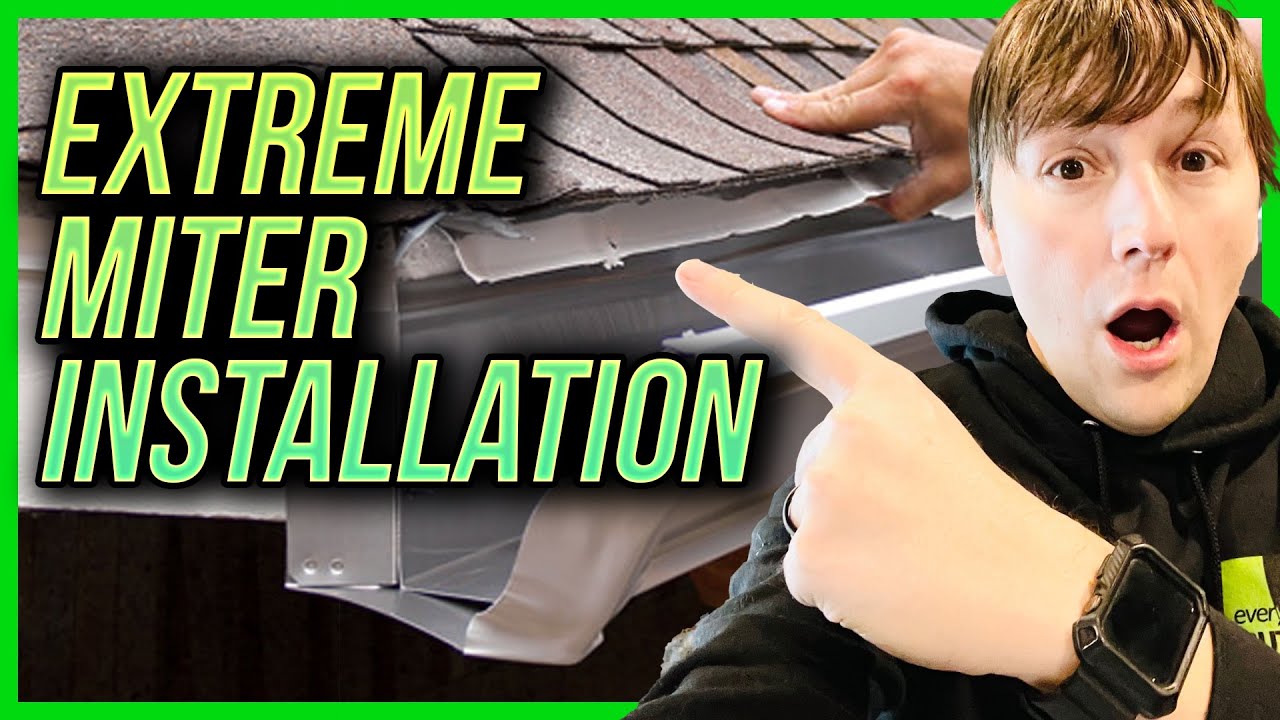
How To Install An Extreme Miter Inside Corner Gutter Miter Youtube
Https Encrypted Tbn0 Gstatic Com Images Q Tbn 3aand9gcsgllmlr6zzo9xq8mbjq Lokmupsqbbzje Gkpzbrauxp8heza8 Usqp Cau

Add A Rain Diverter Diy Gutters Rain Diverter Repair

Guttergekko Inside 90 Degree Miter Install Youtube
How To Install Gutters 6 Steps With Pictures Instructables

6 Inch Gutter Aluminum Inside Box Miter Color Package Of 1 Amazon Com

How To Make An Inside And Outside Corner On A Nasser Two Step Gutter Youtube
Source : pinterest.com
